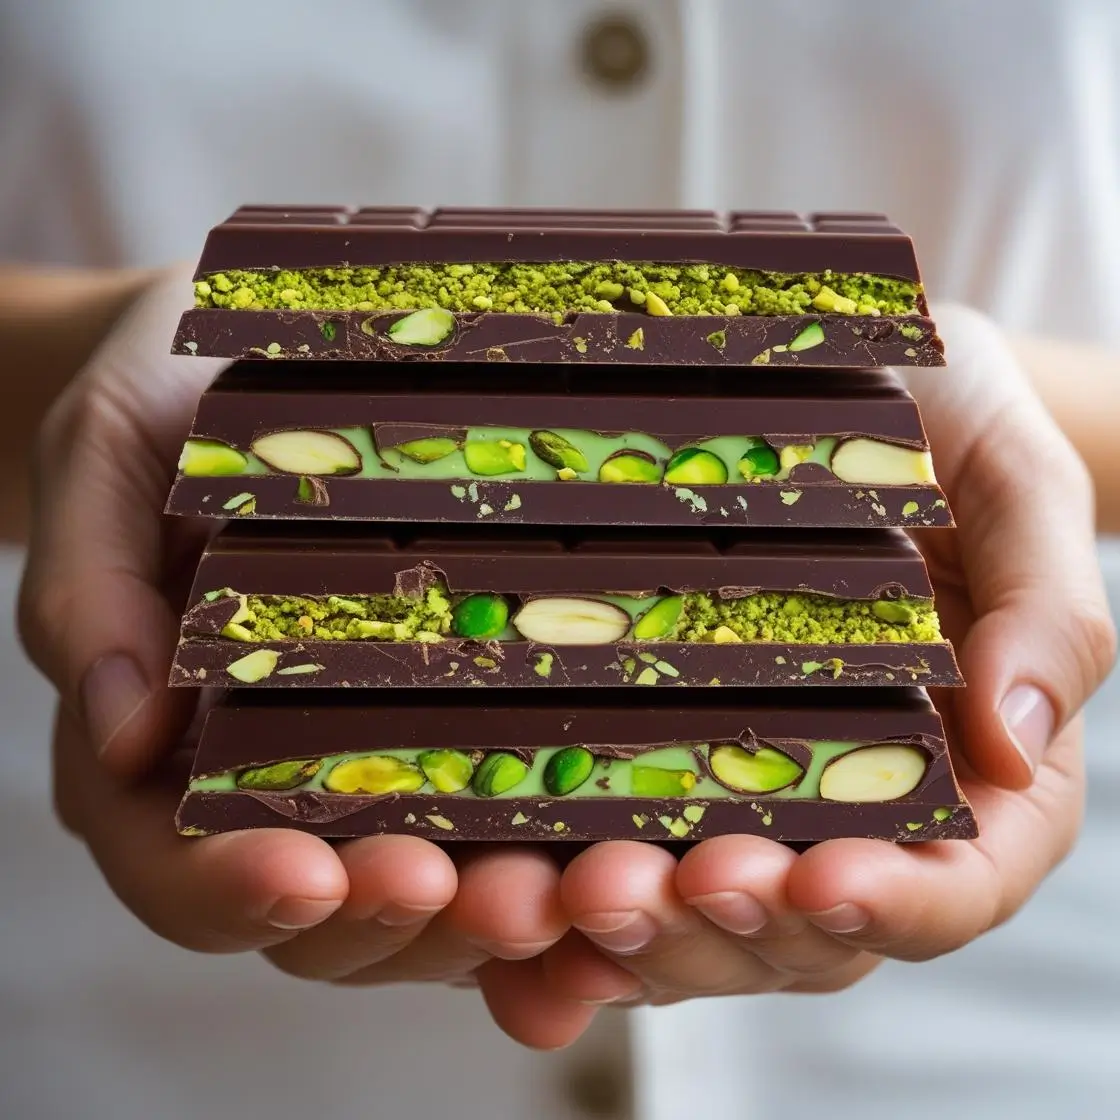
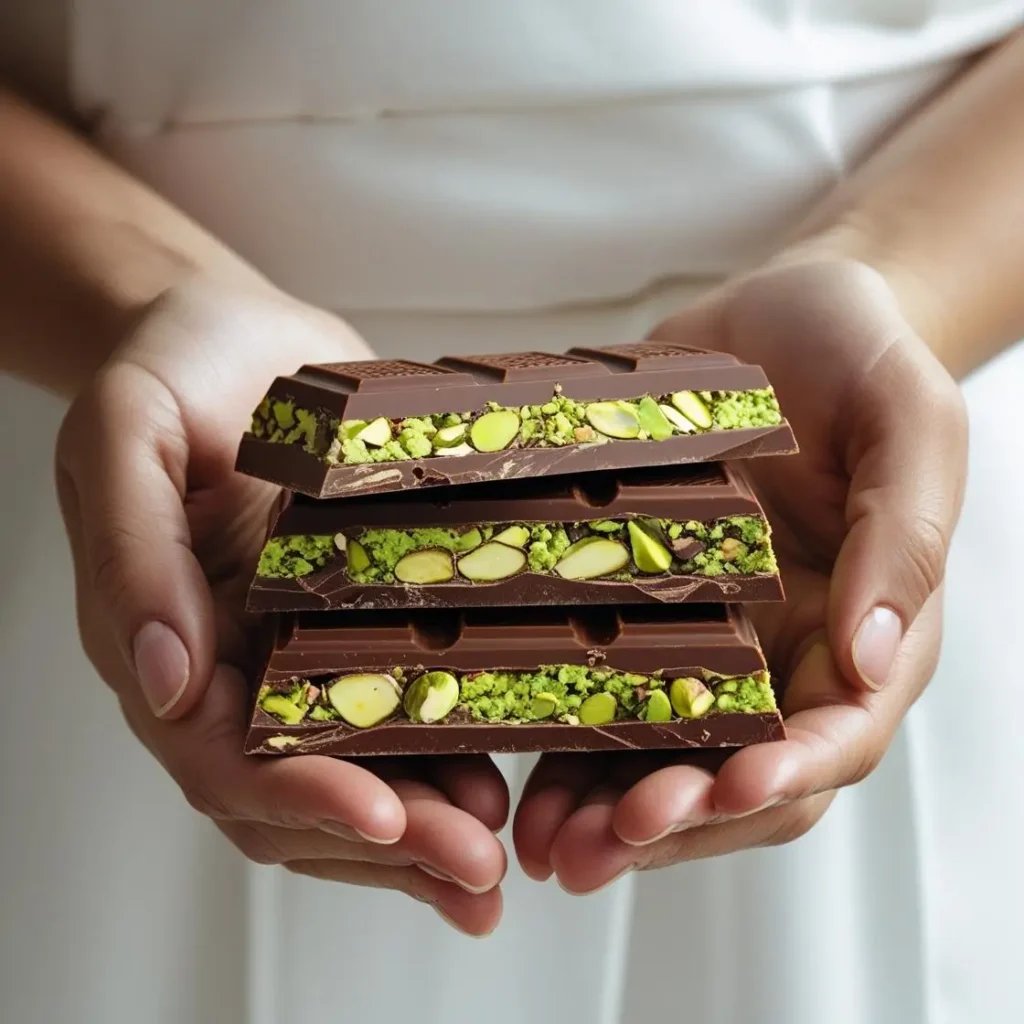
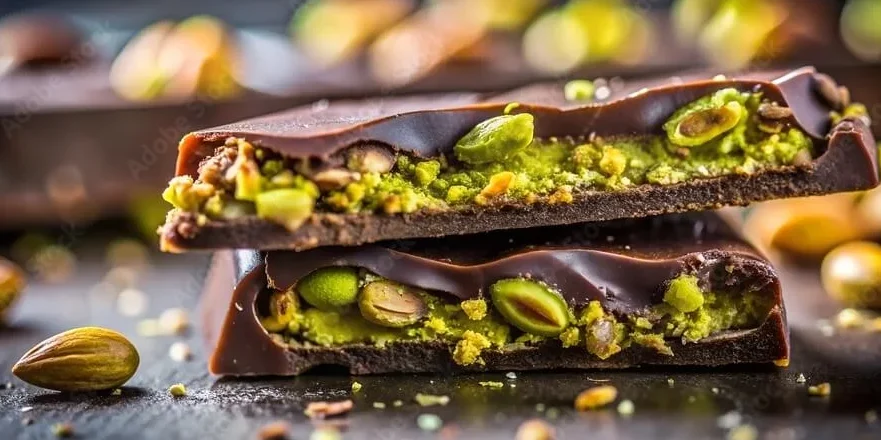
The internet has completely lost its mind over Dubai chocolate bars, and honestly, we can’t blame anyone for jumping on this delicious bandwagon. Furthermore, once you hear that satisfying crispy crunch and experience the impossibly airy yet rich texture, you’ll understand exactly why these treats have taken social media by storm.
Initially, many home bakers attempted to recreate this viral sensation without proper molds, experimenting with freeform versions using toasted kataifi, pistachio butter, tahini halva, and a pinch of salt. However, after countless attempts and variations, we’ve finally committed to making the “real thing” with proper silicone molds. Consequently, the results are absolutely spectacular – impossibly crunchy, perfectly balanced, and bursting with authentic pistachio flavor.
Table of content :
- Why This Viral Chocolate Bar Became a Global Sensation
- Why You'll Absolutely Love This Homemade Version
- Essential Ingredients That Make The Magic Happen
- Step-by-Step Preparation Method
- Storage and Shelf Life
- Creative Substitutions and Variations
- Essential Pro Tips for Perfect Results
- Complete Nutritional Breakdown
- Other recipe :
Why This Viral Chocolate Bar Became a Global Sensation
First and foremost, the visual appeal of Dubai chocolate bars is undeniable. Moreover, the satisfying crunch sound they make when broken has become legendary on TikTok and Instagram. Additionally, the texture combination creates an almost magical eating experience – simultaneously airy and rich, with what many describe as an almost fluffy quality.
What’s more, these bars represent the perfect marriage of Middle Eastern flavors with modern confectionery techniques. Similarly, they’ve managed to capture both traditional taste profiles and contemporary social media appeal. As a result, everyone from professional pastry chefs to home baking enthusiasts has been trying to master this recipe.
Why You’ll Absolutely Love This Homemade Version
Perfectly Balanced Flavor Profile
Unlike many overly sweet chocolate bars, this version incorporates tahini and salt to create remarkable balance. Furthermore, the nutty, savory notes from the tahini complement the sweetness of both the chocolate and pistachio butter beautifully. Therefore, you won’t experience that cloying sweetness that often comes with store-bought candy bars.
The Extraordinary Crunch Factor
Most importantly, the toasted kataifi maintains its crispy, airy texture even when coated with pistachio butter. Subsequently, every single bite delivers that satisfying crunch that made these bars famous in the first place. Moreover, the texture contrast between the smooth chocolate exterior and the crispy interior creates an incredibly satisfying eating experience.
Essential Ingredients That Make The Magic Happen
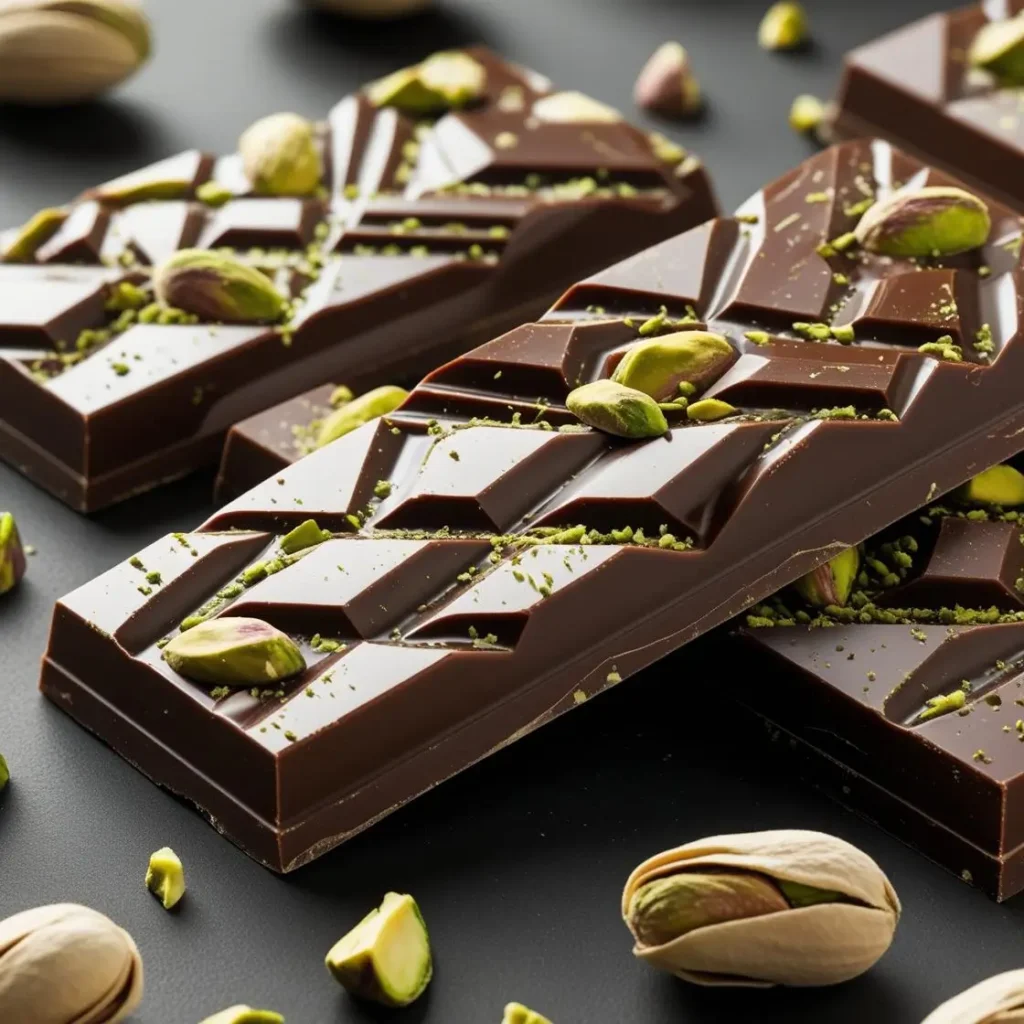
High-Quality Milk Chocolate
Without question, using premium chocolate makes an enormous difference in the final product. Specifically, we recommend Callebaut for its superior flavor and smooth melting properties. Additionally, quality chocolate provides better tempering results and a more professional finish.
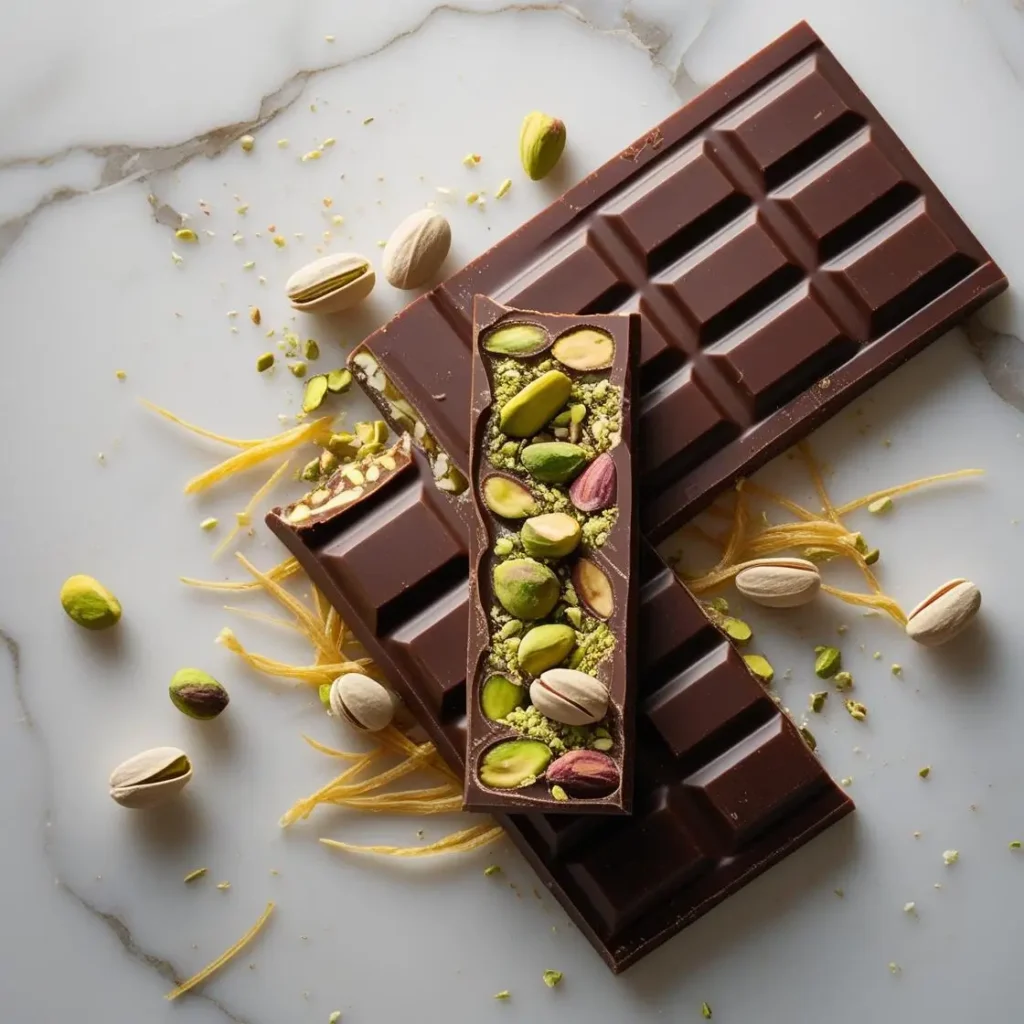
Kataifi Pastry – The Secret Star
Essentially, kataifi consists of ultra-thin pastry strands that you can find fresh or frozen near the phyllo dough section. Alternatively, dried versions are readily available online. Furthermore, this ingredient is absolutely crucial for achieving that signature crunch and airy texture.
Pistachio Butter or Pistachio Cream
Notably, pistachio butter differs significantly from regular nut butters because it’s considerably sweeter. In fact, it resembles a pistachio version of Nutella more than traditional almond or peanut butter. Consequently, it provides both flavor and the perfect creamy consistency for binding the kataifi.
Tahini – The Flavor Balancer
Surprisingly, tahini plays a crucial role in balancing the overall sweetness. Moreover, its nutty, slightly savory flavor profile prevents the bars from becoming overwhelmingly sweet. Additionally, it adds depth and complexity that elevates the entire flavor experience.
Supporting Cast Ingredients
Meanwhile, you’ll also need high-quality white chocolate (Guittard works excellently), optional green food coloring for decorative drizzle, unsalted butter or coconut oil, and kosher salt for that perfect flavor balance
Step-by-Step Preparation Method
Step 1: Creating the Crispy Base
First, chop the kataifi into manageable pieces, then toast them in butter until they achieve a beautiful golden color and crispy texture. Immediately afterward, mix the toasted kataifi with pistachio butter, tahini, and salt while everything is still warm. This ensures optimal binding and flavor distribution.
Step 2: Mold Preparation
Next, place your silicone molds on a sturdy baking sheet. This makes transportation to and from the freezer much easier and prevents any potential spills.
Step 3: White Chocolate Drizzle Foundation
Subsequently, melt the white chocolate using a double boiler method for best results. Then, add green food coloring if desired for that authentic Dubai bar appearance. Carefully drizzle this mixture into the bottom of your molds, then freeze until completely set.
Step 4: Milk Chocolate Preparation
Meanwhile, set aside approximately one-third of your milk chocolate for tempering purposes. Melt the remaining chocolate with butter using the double boiler method, stirring constantly for smooth results.
Step 5: Tempering Process
Importantly, remove the melted chocolate from heat and gradually incorporate the reserved chocolate pieces. This tempering process ensures your finished bars will have that professional snap and glossy appearance.
Step 6: First Chocolate Layer
Then, pour a thin layer of the tempered milk chocolate into each mold, covering the white chocolate drizzle completely. Freeze again until this layer is completely firm.
Step 7: Adding the Star Filling
Afterward, distribute the pistachio-kataifi mixture evenly among the molds, pressing gently to ensure even distribution without crushing the delicate kataifi texture.
Step 8: Final Chocolate Coating
Finally, pour the remaining tempered chocolate over the filling, spreading evenly and using a bench scraper to remove any excess chocolate from the mold tops.
Step 9: Setting Time
Allow the bars to refrigerate until completely firm throughout. This typically takes several hours, but patience during this step ensures perfect results.
Step 10: Unmolding and Finishing
Carefully remove the bars from their molds, then trim any excess chocolate if necessary for a clean, professional appearance.
Storage and Shelf Life
Properly stored in an airtight container in the refrigerator, these bars maintain their quality for up to three weeks. However, they’re so delicious that they rarely last that long!
Creative Substitutions and Variations
Interestingly, you can substitute ruby chocolate for the white chocolate drizzle to create stunning pink accents. Similarly, dark chocolate can replace milk chocolate for those preferring less sweetness. Additionally, these substitutions allow you to customize the bars according to personal preferences or dietary requirements.
Essential Pro Tips for Perfect Results
Temperature Control is Everything
Chocolate Tempering: Most importantly, maintain proper temperatures during tempering. Use a candy thermometer for accuracy – this single step determines whether your bars have professional shine or dull, streaky appearance.
Room Temperature Matters: Additionally, work in a cool kitchen (below 75°F) for best results. Hot environments make chocolate work nearly impossible and can cause the filling to become too soft.
Texture Preservation Secrets
Toast, Don’t Burn: Furthermore, kataifi should be golden brown and crispy, not dark brown. Overtoasting creates bitter flavors that overpower the delicate pistachio notes.
Immediate Mixing: Similarly, combine the hot kataifi with pistachio butter immediately after toasting. This timing ensures even coating and prevents the mixture from seizing up.
Complete Nutritional Breakdown
- Calories :245
- Total Fat :16.2g
- Saturated Fat :7.8g
- Monounsaturated Fat : 5.1g
- Polyunsaturated Fat : 2.4g
- Cholesterol : 8m
- Sodium : 95m
- Total Carbohydrates : 22.5g
- Dietary Fiber : 2.8g
- Total Sugars : 18.2g
- Protein : 5.4g
- Vitamin E : 2.1mg
- Magnesium : 45mg
- Phosphorus : 78mg
- Potassium : 185mg
Other recipe :
Creating these sensational Dubai chocolate bars at home represents far more than just following a recipe – it’s about mastering a technique that bridges traditional Middle Eastern flavors with contemporary confectionery artistry. Moreover, the satisfaction of achieving that perfect crunch, balanced sweetness, and professional appearance makes every step of the process worthwhile.
Throughout this journey, you’ve learned not just the what, but the why behind each ingredient and technique. Furthermore, the skills you’ve developed – from proper chocolate tempering to achieving the perfect kataifi texture – will serve you well in countless other baking adventures. Consequently, you’re now equipped to create professional-quality confections that rival the viral sensations taking social media by storm.
“Dubai Chocolate Recipe: How to Create a Middle Eastern Dessert Masterpiece”
Ingredients
Instructions
- Step 1: Prepare the Crispy Base
- Chop kataifi into manageable pieces
- Toast kataifi in butter until golden and crispy
- Immediately mix hot kataifi with pistachio butter, tahini, and salt
- Set aside to cool
- Step 2: Prepare Molds
- Place silicone molds on a sturdy baking sheet
- This makes transport to freezer easier
- Step 3: White Chocolate Drizzle
- Melt white chocolate using double boiler method
- Add green food coloring if desired
- Drizzle into bottom of molds
- Freeze until completely set
- Step 4: Temper the Milk Chocolate
- Set aside 1/3 of milk chocolate for tempering
- Melt remaining chocolate with butter using double boiler
- Remove from heat and gradually add reserved chocolate pieces
- This ensures professional snap and glossy finish
- Step 5: Assemble the Bars
- Pour thin layer of tempered chocolate over white chocolate drizzle
- Freeze until firm
- Add pistachio-kataifi mixture, pressing gently for even distribution
- Pour remaining chocolate over filling
- Use bench scraper to remove excess from mold tops
- Step 6: Set and Finish
- Refrigerate until completely firm (several hours)
- Carefully unmold
- Trim excess chocolate for clean appearance
Notes
- For the best flavor, use high-quality dark chocolate and fresh cardamom. You can customize the dessert by adding chopped pistachios, rose petals, or a drizzle of tahini for an authentic Middle Eastern twist. Chill the dessert thoroughly to allow the flavors to meld beautifully before serving.